
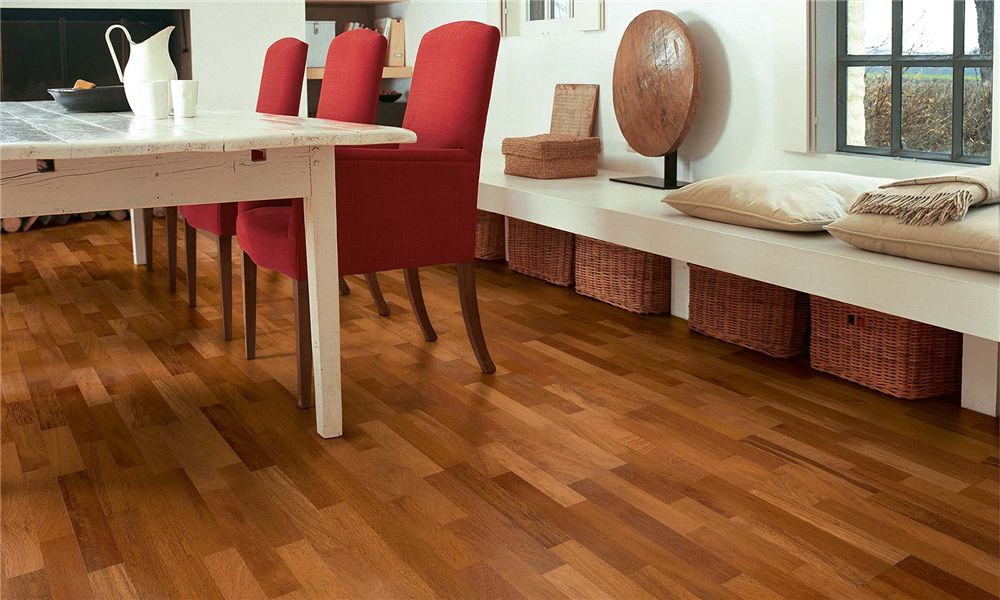
Flooring is one of the most vulnerable surfaces during construction, renovation, or even simple home improvement projects. Whether you’re working with hardwood, tile, laminate, or marble, exposure to paint spills, dust accumulation, and heavy impacts can lead to costly repairs or permanent damage.
Taking proactive steps to protect floors not only preserves their appearance but also reduces cleanup time and overall project costs.
Understanding the Main Risks
During renovation, floors face three primary threats:
1. Paint and Chemical Spills
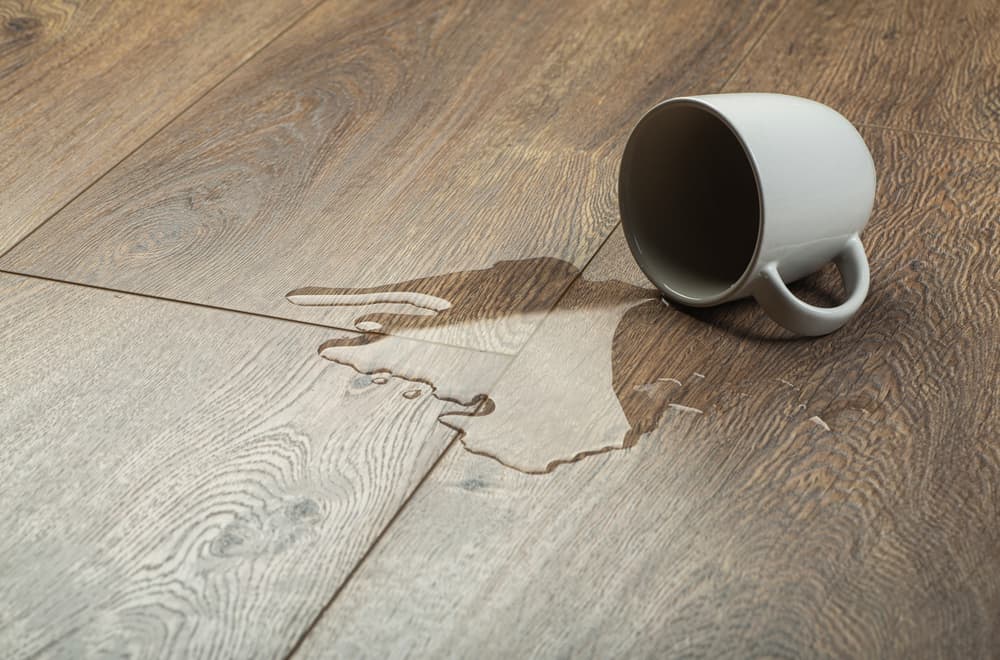
Paint drips, coatings, and solvents can stain or chemically react with floor finishes. On porous surfaces like wood or natural stone, these substances may penetrate deeply, making removal difficult or impossible.
2. Dust and Debris Accumulation
Construction dust is more than just a nuisance. Fine particles can act like sandpaper under foot traffic, gradually scratching and dulling floor surfaces. Dust can also settle into grout lines, seams, or wood grain, reducing the floor’s original aesthetic.
3. Impact and Mechanical Damage
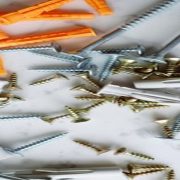
Heavy tools, ladders, and construction materials can dent, crack, or chip flooring. Repeated foot traffic in work zones also increases wear, especially in high-traffic pathways.
Use Temporary Floor Protection Materials
One of the most reliable methods to prevent floor damage is the use of temporary protective materials. These solutions are specifically designed to shield surfaces without leaving residue or affecting the original finish.
Types of Floor Protection:
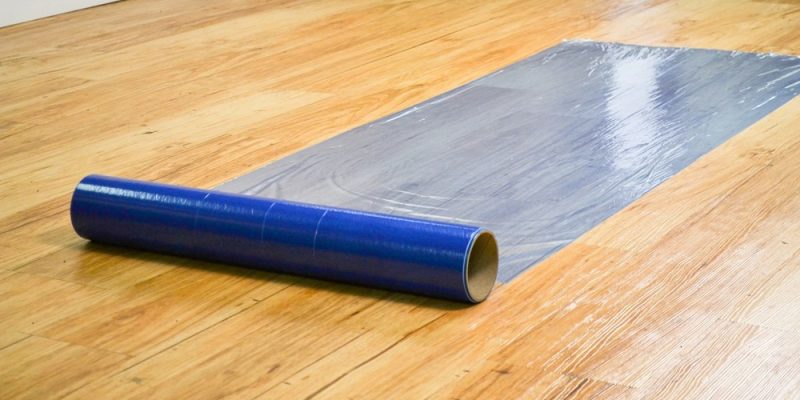
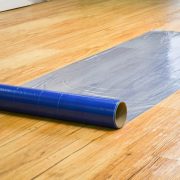
- Adhesive protection films: Designed for hard surfaces such as hardwood, tile, and vinyl flooring. Floor protective films stay in place and provide a barrier against paint and dust.
- Protective paper or boards: Well-suited for high-traffic zones and demanding, heavy-duty applications.
- Foam or fabric-backed coverings: Offer additional cushioning against impact damage.
When selecting a protection material, ensure it is breathable (to avoid moisture buildup) and easy to remove after the project is completed.
Prepare the Floor Before Protection
Proper surface preparation is critical before installing any protective covering. Sweep or vacuum thoroughly to remove dirt and debris. Even small particles trapped under protective coverings can cause scratches when walked on.
For sensitive surfaces like hardwood, ensure the floor is completely dry. Moisture trapped beneath coverings can lead to warping or discoloration over time.
Control Dust Throughout the Project
Dust control should be an ongoing process, not a one-time effort. Effective strategies include:
- Sealing off work areas using plastic sheeting or temporary barriers
- Using dust extraction tools during cutting, sanding, or drilling
- Regular cleaning with vacuums or microfiber mops to prevent buildup
By minimizing dust at the source, you reduce the risk of surface abrasion and contamination.
Prevent Impact and Heavy Load Damage
To protect floors from impact:
- Use padding under ladders and equipment
- Install walkway protection paths in high-traffic zones
- Avoid dragging heavy objects-always lift or use wheeled equipment with soft casters
Distributing weight evenly can significantly reduce the risk of dents and cracks, especially on wood and tile surfaces.
Monitor and Maintain Protection
Floor protection is not a “set it and forget it” solution. Regularly inspect protective materials to ensure they remain intact and properly positioned. Replace any worn or damaged sections immediately.
Additionally, watch for early signs of damage, such as lifting edges, trapped debris, or moisture buildup. Addressing these issues promptly prevents more serious problems later.
Safe Removal and Final Cleaning
Once the project is complete, remove protective materials carefully to avoid leaving adhesive residue or pulling up finishes. Restore the floor’s original appearance by using cleaning solutions recommended by the manufacturer and appropriate for the specific floor material.


Comments